Overview of Lovable
Welcome to this step-by-step guide on how to create a full-stack application using Lovable: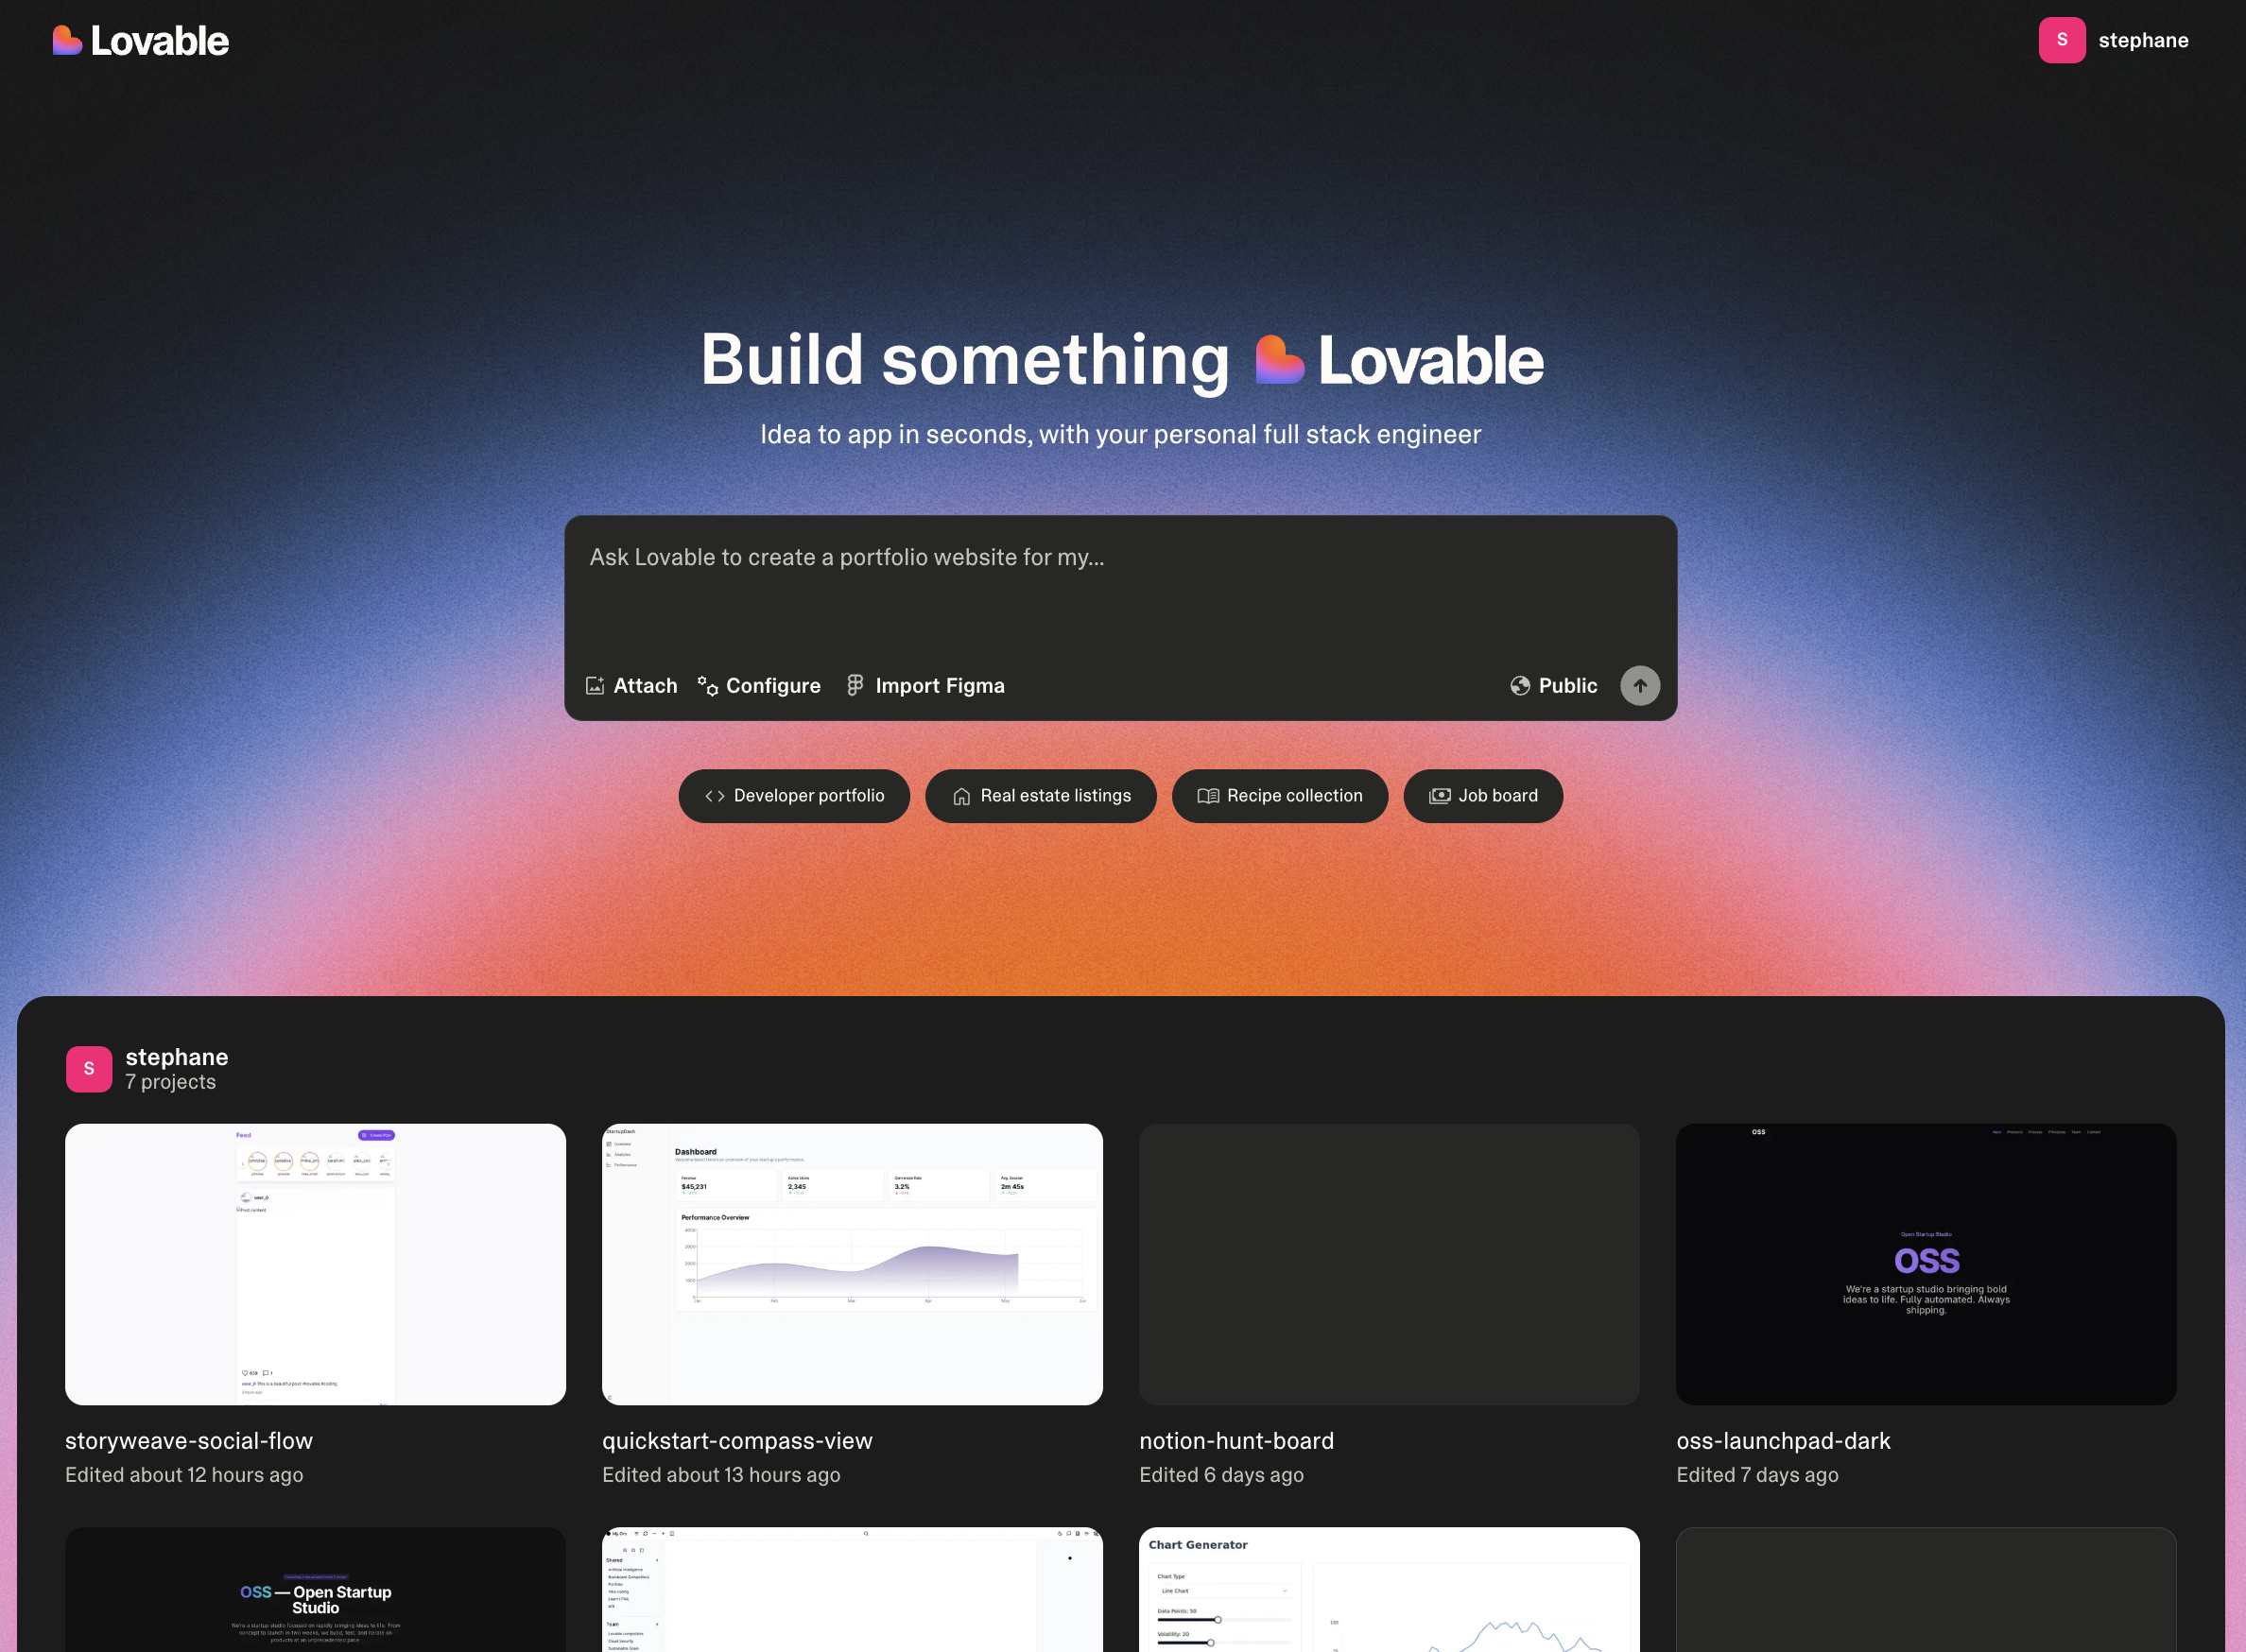
The Lovable platform overview
Create your first project
Create your first project
1
Step 1
To get started, head over to lovable.dev and create an account. Once registered, you’ll be able to create your first project.
2
Step 2
Simply enter an initial prompt to kick things off, and Lovable will do the rest! This is the starting block for any project in Lovable, where you can bring your ideas to life instantly.
Lovable dashboard
Lovable dashboard
At Lovable, simplicity is key:
- Here you kickstart your project with a single prompt.
- Explore all projects, including the latest and featured ones.
- Jumpstart with a template from our curated selection.
- Personalize your experience by viewing and editing your profile.
- Manage your account to check monthly credits and adjust settings.
- Experiment with Labs features like Chat mode—toggle them on or off.
- Upgrade or downgrade your plan seamlessly.
Project overview
Project overview
At Lovable, every project follows a structured workflow:
- Edit with ease using a chat-based interface.
- Attach images for precision edits and inspiration.
- Select and visually edit components for a seamless design experience.
- Switch effortlessly between edit mode and chat mode.
- Track changes with version history and restore any previous version.
- Navigate through pages of your project with ease.
- Enable remixing or rename your project as needed.
- Use Lovable Cloud (or integrate with Supabase) for backend capabilities.
- Collaborate via GitHub to edit and manage your code.
- Publish, deploy, and share your project with a preview link (remember to re-publish after changes).
- Toggle between web and mobile view for responsive design.
- Refresh the preview modal to see updates instantly.
- Open your project directly using the preview link.
Project settings
Project settings
Every project’s settings empower you to:
- View key project details like total edits and creation date.
- Set up custom knowledge to tailor your project’s context.
- Connect to a GitHub repository for seamless collaboration.
- Adjust project visibility from public to private.
- Manage the badge display (available for paid plans only).
- Rename your project anytime.
- Delete your project (⚠️ Danger Zone).
Project quick access
Project quick access
You can always quickly access:
- Dashboard for an overview of your projects.
- Account settings to manage your profile and preferences.
- Documentation and Support for guidance and assistance.
- Log out securely from your Lovable account.
Start your project
There are several ways to get started with Lovable, depending on your preferences and resources:Prompt
Prompt
Lovable’s prompt-based system makes app creation simple.
- Just describe what you want to build in the prompt box.
- The more specific you are, the better the results.
- Start with clear and detailed prompts.
- You can refine and adjust your project as you go.
Example:“Create a dashboard with user login, monthly sales in a line chart, and customer demographics in a pie chart.”
Remix an existing project
Remix an existing project
You can remix an existing public project or one of your own. Remixing allows you to reuse the current state of a project as a starting point and build upon it. It’s a great way to explore new ideas, make adjustments, or iterate with different changes while preserving the original version.
You can only remix public projects from other users if the project is not connected to Supabase.
Using Figma
Using Figma
If you have a design in Figma,
- Using screenshots: Take a screenshot of any part of it. You can paste the screenshot directly into Lovable or drag-and-drop the image file. Once you press Enter, Lovable will convert your design into functional code.
- Using Builder.io integration: First, structure your Figma design using Auto-Layout and clear layer naming. Then, open the Builder.io plugin in Figma, select your design, and click “Open in Lovable” to generate a fully functional app. See Figma to Lovable for more information.
Using a sketch
Using a sketch
1
Step 1
Use Excalidraw or any similar tool to sketch your UI.
2
Step 2
Take a screenshot of your drawing, then paste or drag-and-drop it into Lovable. The platform will transform your sketch into working code.
Cloning a website or application
Cloning a website or application
If you want to replicate an existing webpage:More information here.
1
Step 1
Take a screenshot using shortcuts like Cmd+Shift+4 on Mac or tools like the GoFullPage Chrome Extension.
2
Step 2
Paste or drag the screenshot into Lovable. Lovable will recreate the structure of the webpage in your project.
Edit your project
Add custom knowledge to your project
Add custom knowledge to your project
The Custom knowledge in Lovable acts as your project’s blueprint, organizing functionality, design, and goals in one place.
Use Visual Edits
Use Visual Edits
Visual Edits allows you to select elements on the page and either edit them instantly, such as updating text or colors, or use prompts to adjust functionality and layout.See Visual Edits for more information.
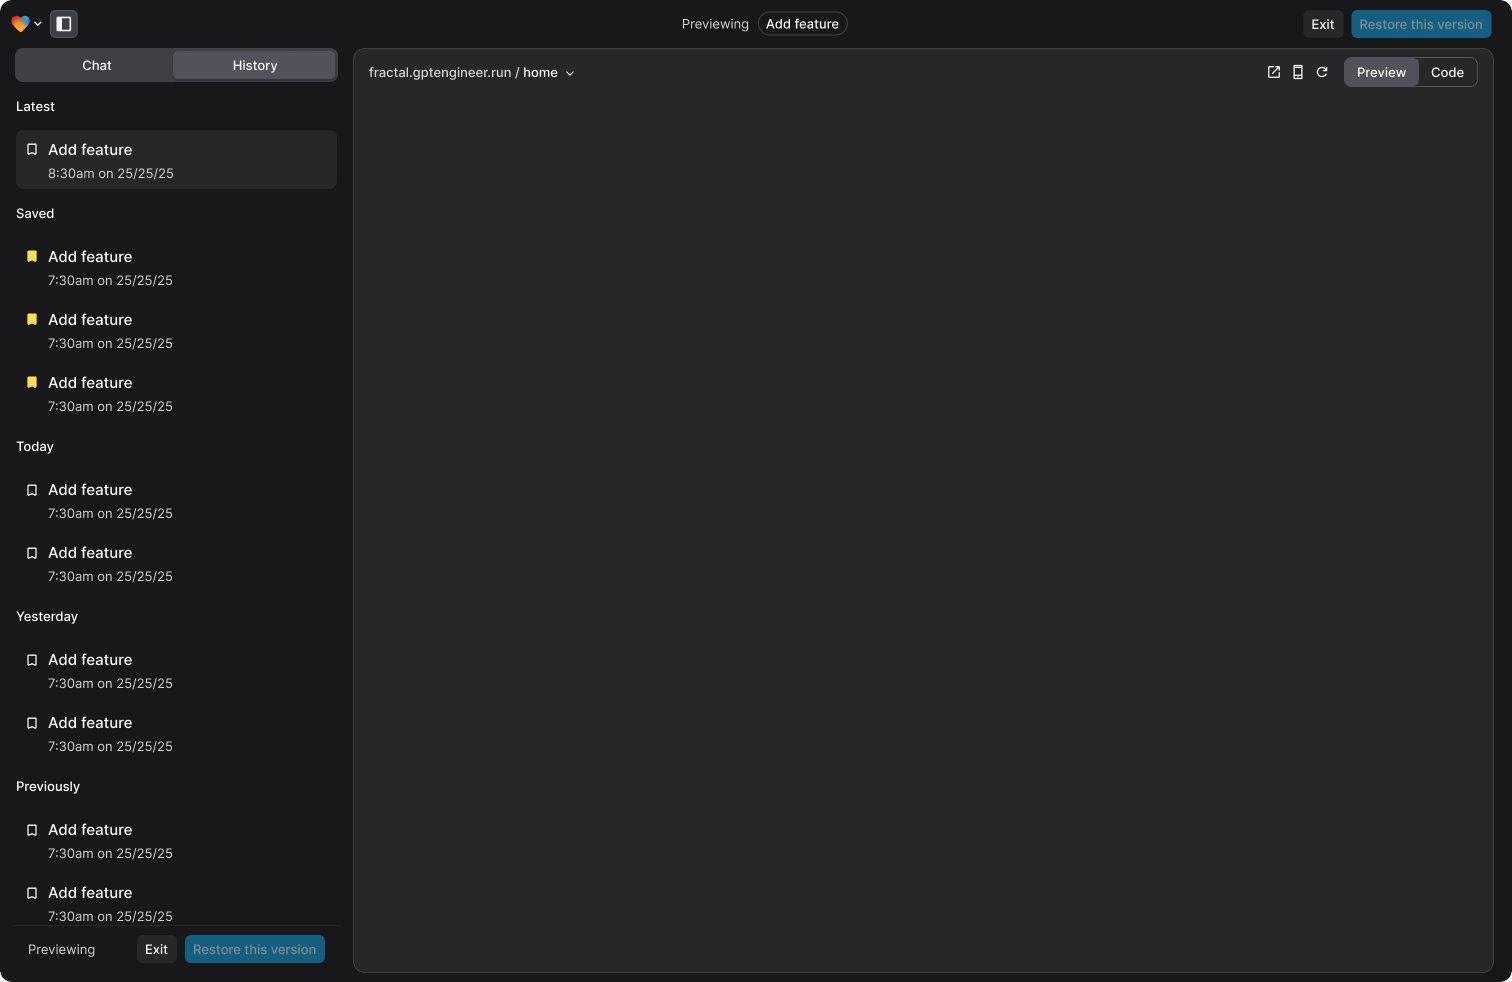
Revert a change
Revert a change
Speed matters when building AI-driven apps, but so do stability and control. That’s why we’ve upgraded versioning to make tracking changes effortless.
1
Restore past versions instantly
If you want to go back to a previous version of your app, click ‘restore’ on the version you want to revert to.
2
Bookmark key edits
Keep your work organized by bookmarking important edits, making it easy to find and revisit them later.
3
Intuitive version history
The history panel now works like Google Docs, making tracking changes easier.
Add animation component with 21st dev
Add animation component with 21st dev
Add images to prompt
Add images to prompt
Attach images directly to the chat to add context to your prompts. This makes it easier to illustrate ideas or concepts that are better shown than described.
Add a new page to your project
Add a new page to your project
Refactor code
Refactor code
Connect to GitHub
Connect to GitHub
Integrate your project with GitHub to iterate on your application seamlessly. You can make code changes in GitHub or your preferred IDE while keeping everything in sync with Lovable.
See GitHub integration for more information.
Add fullstack capabilities to your project
Connect a backend
Connect a backend
If you need to add backend capabilities to your application, you can:
- Connect to Lovable’s built-in backend - Lovable Cloud
- Use Lovable’s native Supabase integration
Add payment capabilities to your application with Stripe
Add payment capabilities to your application with Stripe
There are many ways to connect Stripe to Lovable, but the most straight-forward way is to utilize Stripe’s built in payment links. See Stripe integration for more information.
Add email capabilities with Resend
Add email capabilities with Resend
See Resend integration for more information.
Deploy and publish your project
Set up SEO
Set up SEO
Check out SEO documentation to ensure all SEO capabilities are properly enabled.
Add a custom domain
Add a custom domain
You can add a custom domain using:
- Entri (native to Lovable)
- Netlify
- Vercel
- Namecheap
Publish my project
Publish my project
When your project is ready, publish it to generate a shareable URL. This makes it easy to showcase your application or share it with collaborators and stakeholders.
See Publish for more information.